
Get Organized Like the Pros!
We know that getting organized can feel like an overwhelming project. The main reason that we know that is because the #1 thing that we hear from new organizing clients is simply “I don’t even know where to start.”
Let us help to de-mystify the steps of getting any space whipped into shape!
01. Just Start
Choose ONE space to start with. It can be the one causing you the most grief, the one that is most visible to guests, the one that is smallest and feels the most managable, etc. It doesn’t matter where you start. Just Start.
02. Gather Your Supplies
Measure the space that you have to work with (shelf/drawer depth, width, and height) and start gathering materials.
The essential items will be: post-it notes (or paper & tape), pens/markers, bins and containers. There is no requirement that you buy all new bins and containers, feel free to use what you have. HOWEVER, we have found that our clients to prefer the look/feel of a space that is visually cohesive one all the organizing is complete and everything has a home. Additionally, getting organizers that are the correct size for the space ensures that all space can be effectively used without weird dead zones. Knowledge of the endless bins/baskets/containers available is one major perk of working with a professional organizer. Making sure that you find products that work with your space - and the way you use it - is the best way to ensure that you are creating a system that will last.
If you do decide to purchase new organizers, be sure to buy from a store with a good return policy. When purchasing, you’ll want to overbuy and return any unused product when you are finished. There is nothing more frustrating than getting 90% done with a project and realizing that you are a few bins short!


03. Set The Stage
Create a large, empty work space. It can be a counter top, a table, a bed, or even the floor. The only metric is that it should be able to hold ALL of the items from the area that you are working on. Popping up a card table or two can be helpful in creating accessible workspace.
04. Zone it Out
Create 4 bins, bags or zones and label them TRASH, DONATE, GIVE TO A FRIEND, MOVE TO A DIFFERENT ROOM. If you are a “saver” we also recommend a bin/zone for “sentimental” items. These are items that you are simply saving because they are meaningful to you but are not used or displayed. They should be moved to a basement/attic/storage unit where they are not taking up valuable, accessible storage space. For sorting, we love these rolling bins that follow us from space to space.

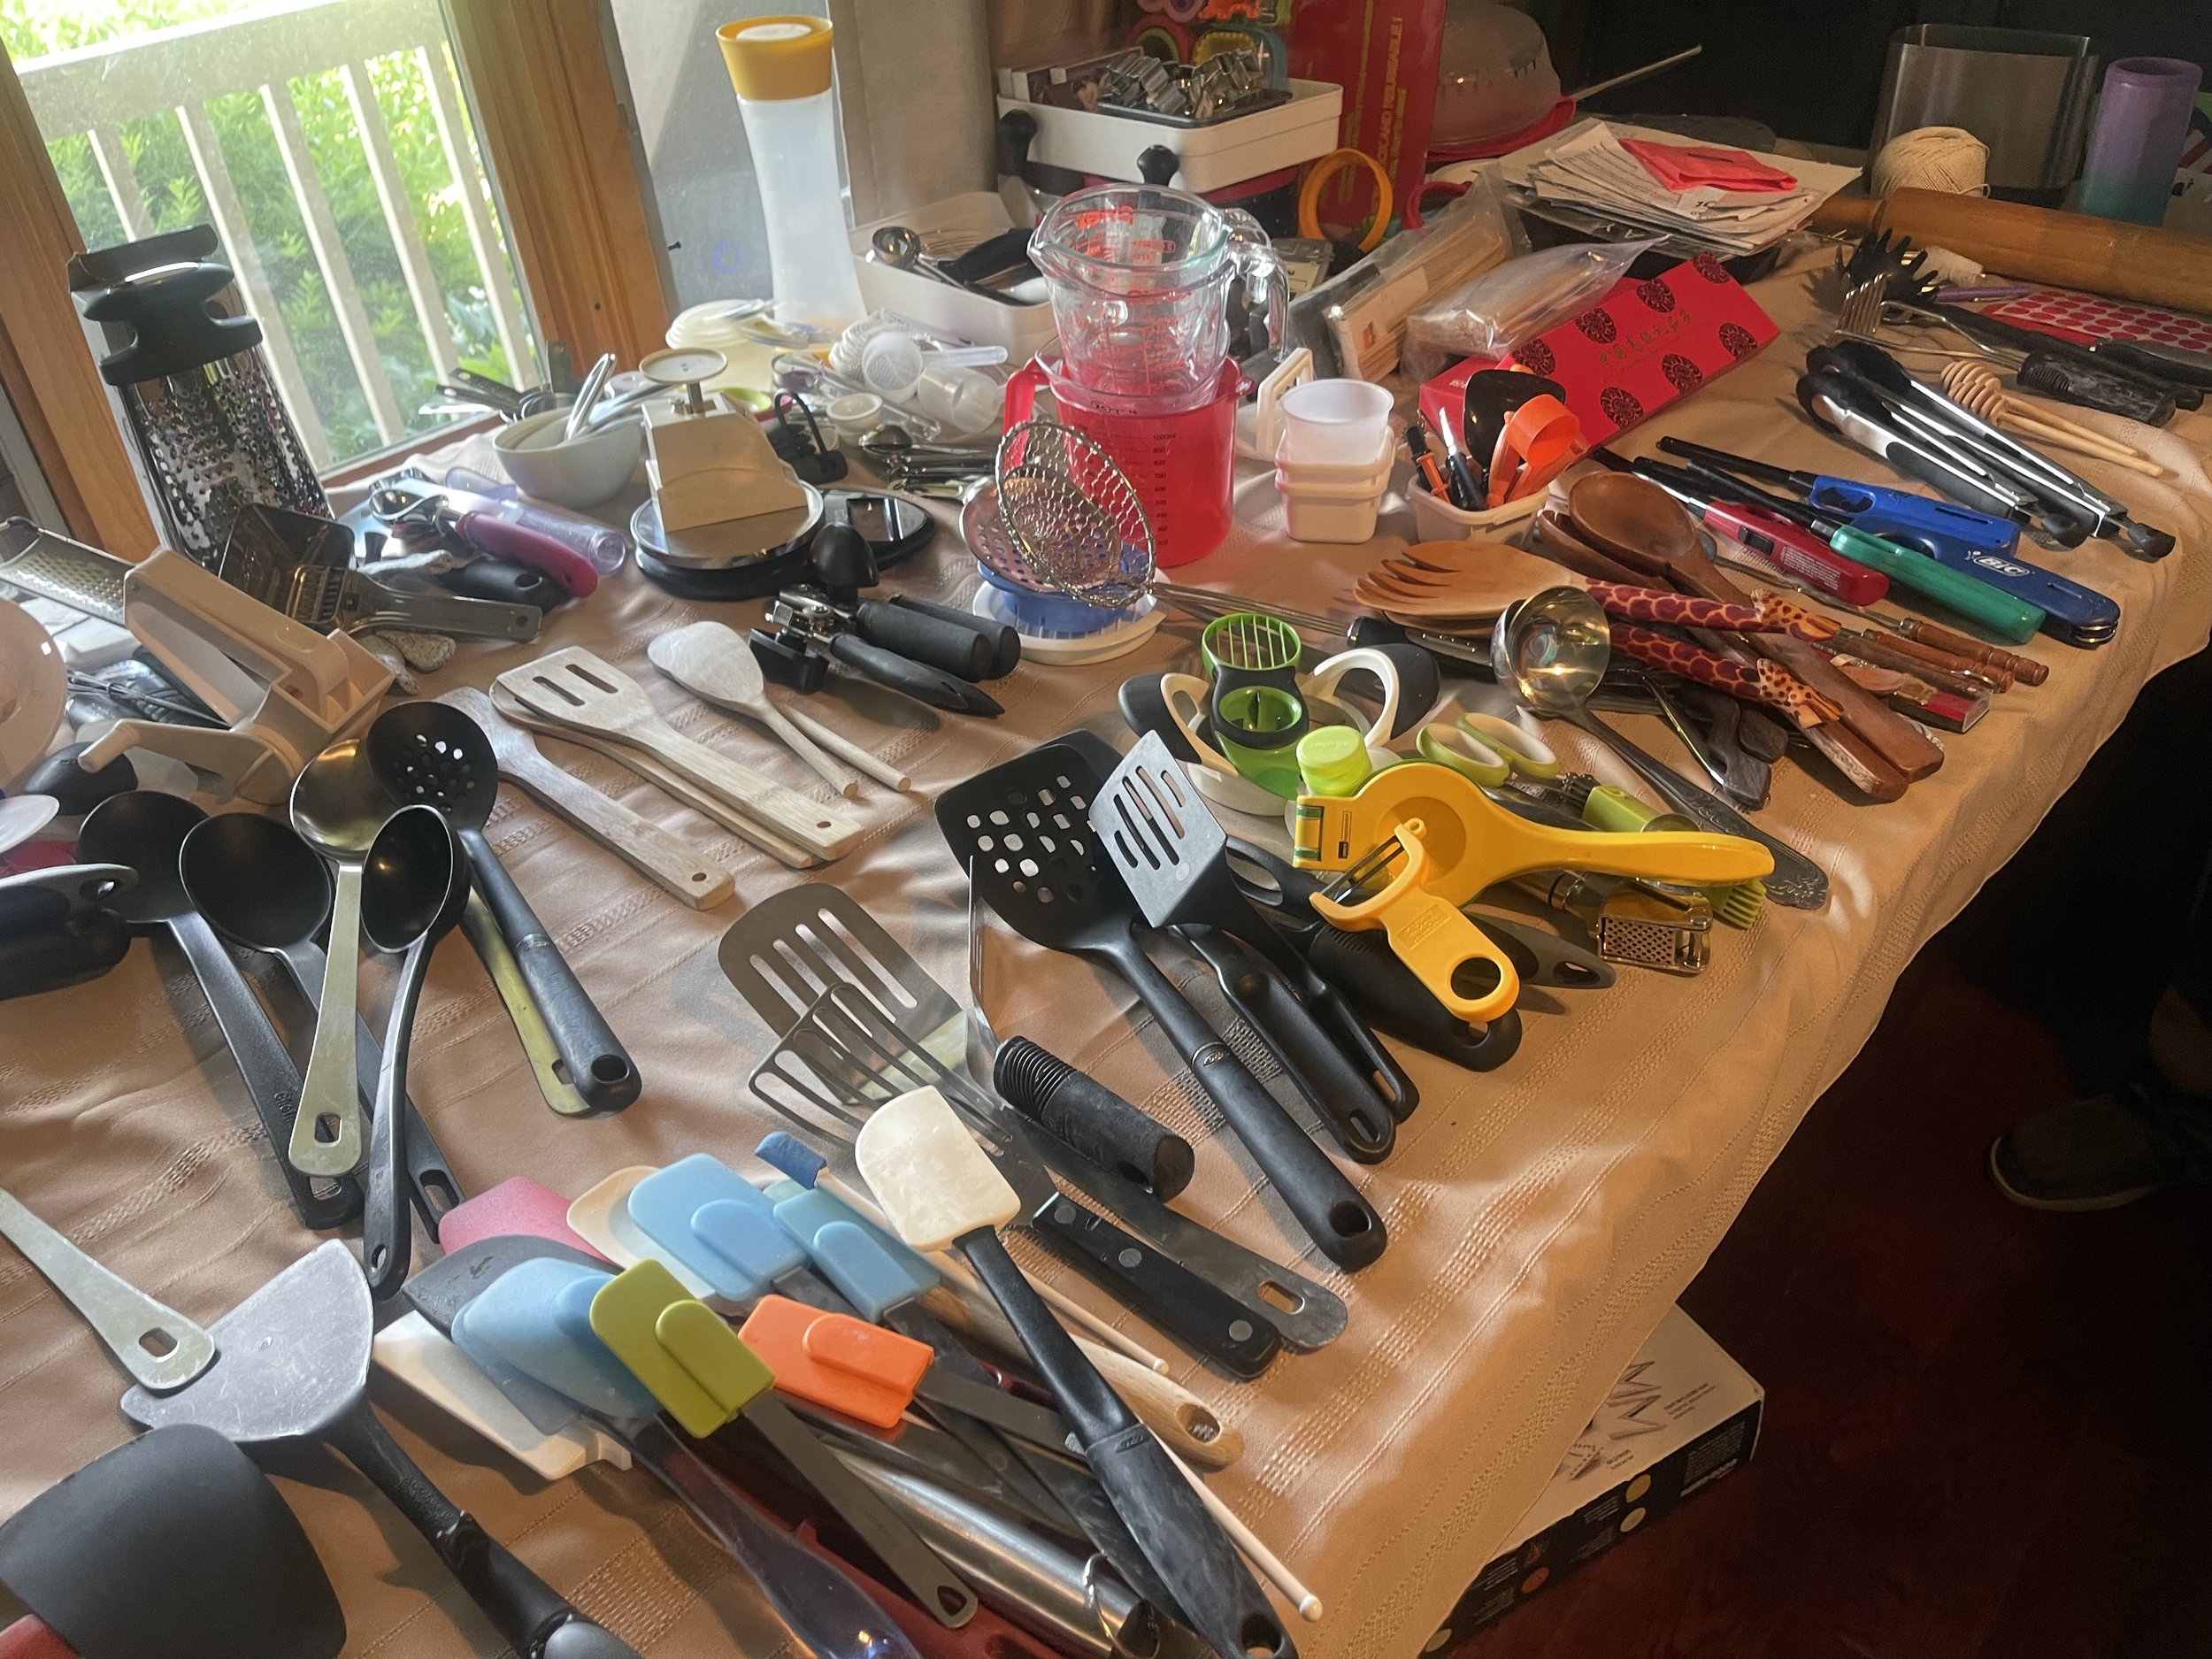
05. Empty Everything
Now this is where it can start to feel overwhelming. Just keep going! Remember, it gets worse before it gets better!
Empty ALL of the items from the area that you are organizing and lay them out in your big, empty work space while grouping them by type.
For example: If you are organizing your bathroom, you take everything off the counter, out of the medicine cabinet, out of the drawers, out of the closet, out of the shower/tub, etc. They you lay it all out in groups: shampoos, soaps, hair accessories (this may need subcategories), paper products, cleaning supplies, grooming tools, etc. Large categories, like OTC medications, may need to be sorted further into sub-types (pain relief, acid reducers, itch-relief, etc).
Generally, you don’t want to be too broad (food) or too narrow (gummy worms).

06. Look at Expirations
Look at all expiration dates and/or determine if anything is broken/non-functional. In a closet, you want to make sure everything FITS.
Place the items that are not being kept into the appropriate bin created in step 3. Products that are near expiration should be marked (we like colored dot stickers) as a reminder to use it up or get rid of it when the time comes.
07. Reduce the STUFF
Go through each “group” and determine the following:
Is this something that I really use?
If yes, do I own something else that can perform the same function that I would prefer to keep instead?
How many of this item do I really need?
If the item is being “saved” for someone in the future, be sure that the person it is intended for is interested in having it
Anything that is not a “Keep” should be immediately placed in the appropriate bin/zone created in Step 3.
Continue this process with each “group” of items until you have gone through them all.
08. Space Plan!
Now we start space planning.
Create a post-it for each “group” of items. Then you’ll go through your [now empty] spaces to determine which items should be placed in which space. This will be determined by how many items are in each group and how/when they are used. Ideally, you do not want one type of item split into two locations unless there is a very specific reason for doing so. Remember - just because something has ALWAYS been in one location, that doesn’t mean it has to stay that way!
Using the post-it notes (or paper & tape) makes it easy to change your mind and move entire categories when planning without having to physically move the items.
The photo immediately below photo shows another - more cursory - space planning step where you decide even more generally which area something should be placed in prior to establishing its exact location. This can be helpful when you have multiple related spaces (think kitchen, pantry cabinets, butler pantry) to determine how each space should be best utilized.


09. Put It All Away
Now it’s time to wipe out all of the drawers, cabinets and/or shelves and get everything put away.
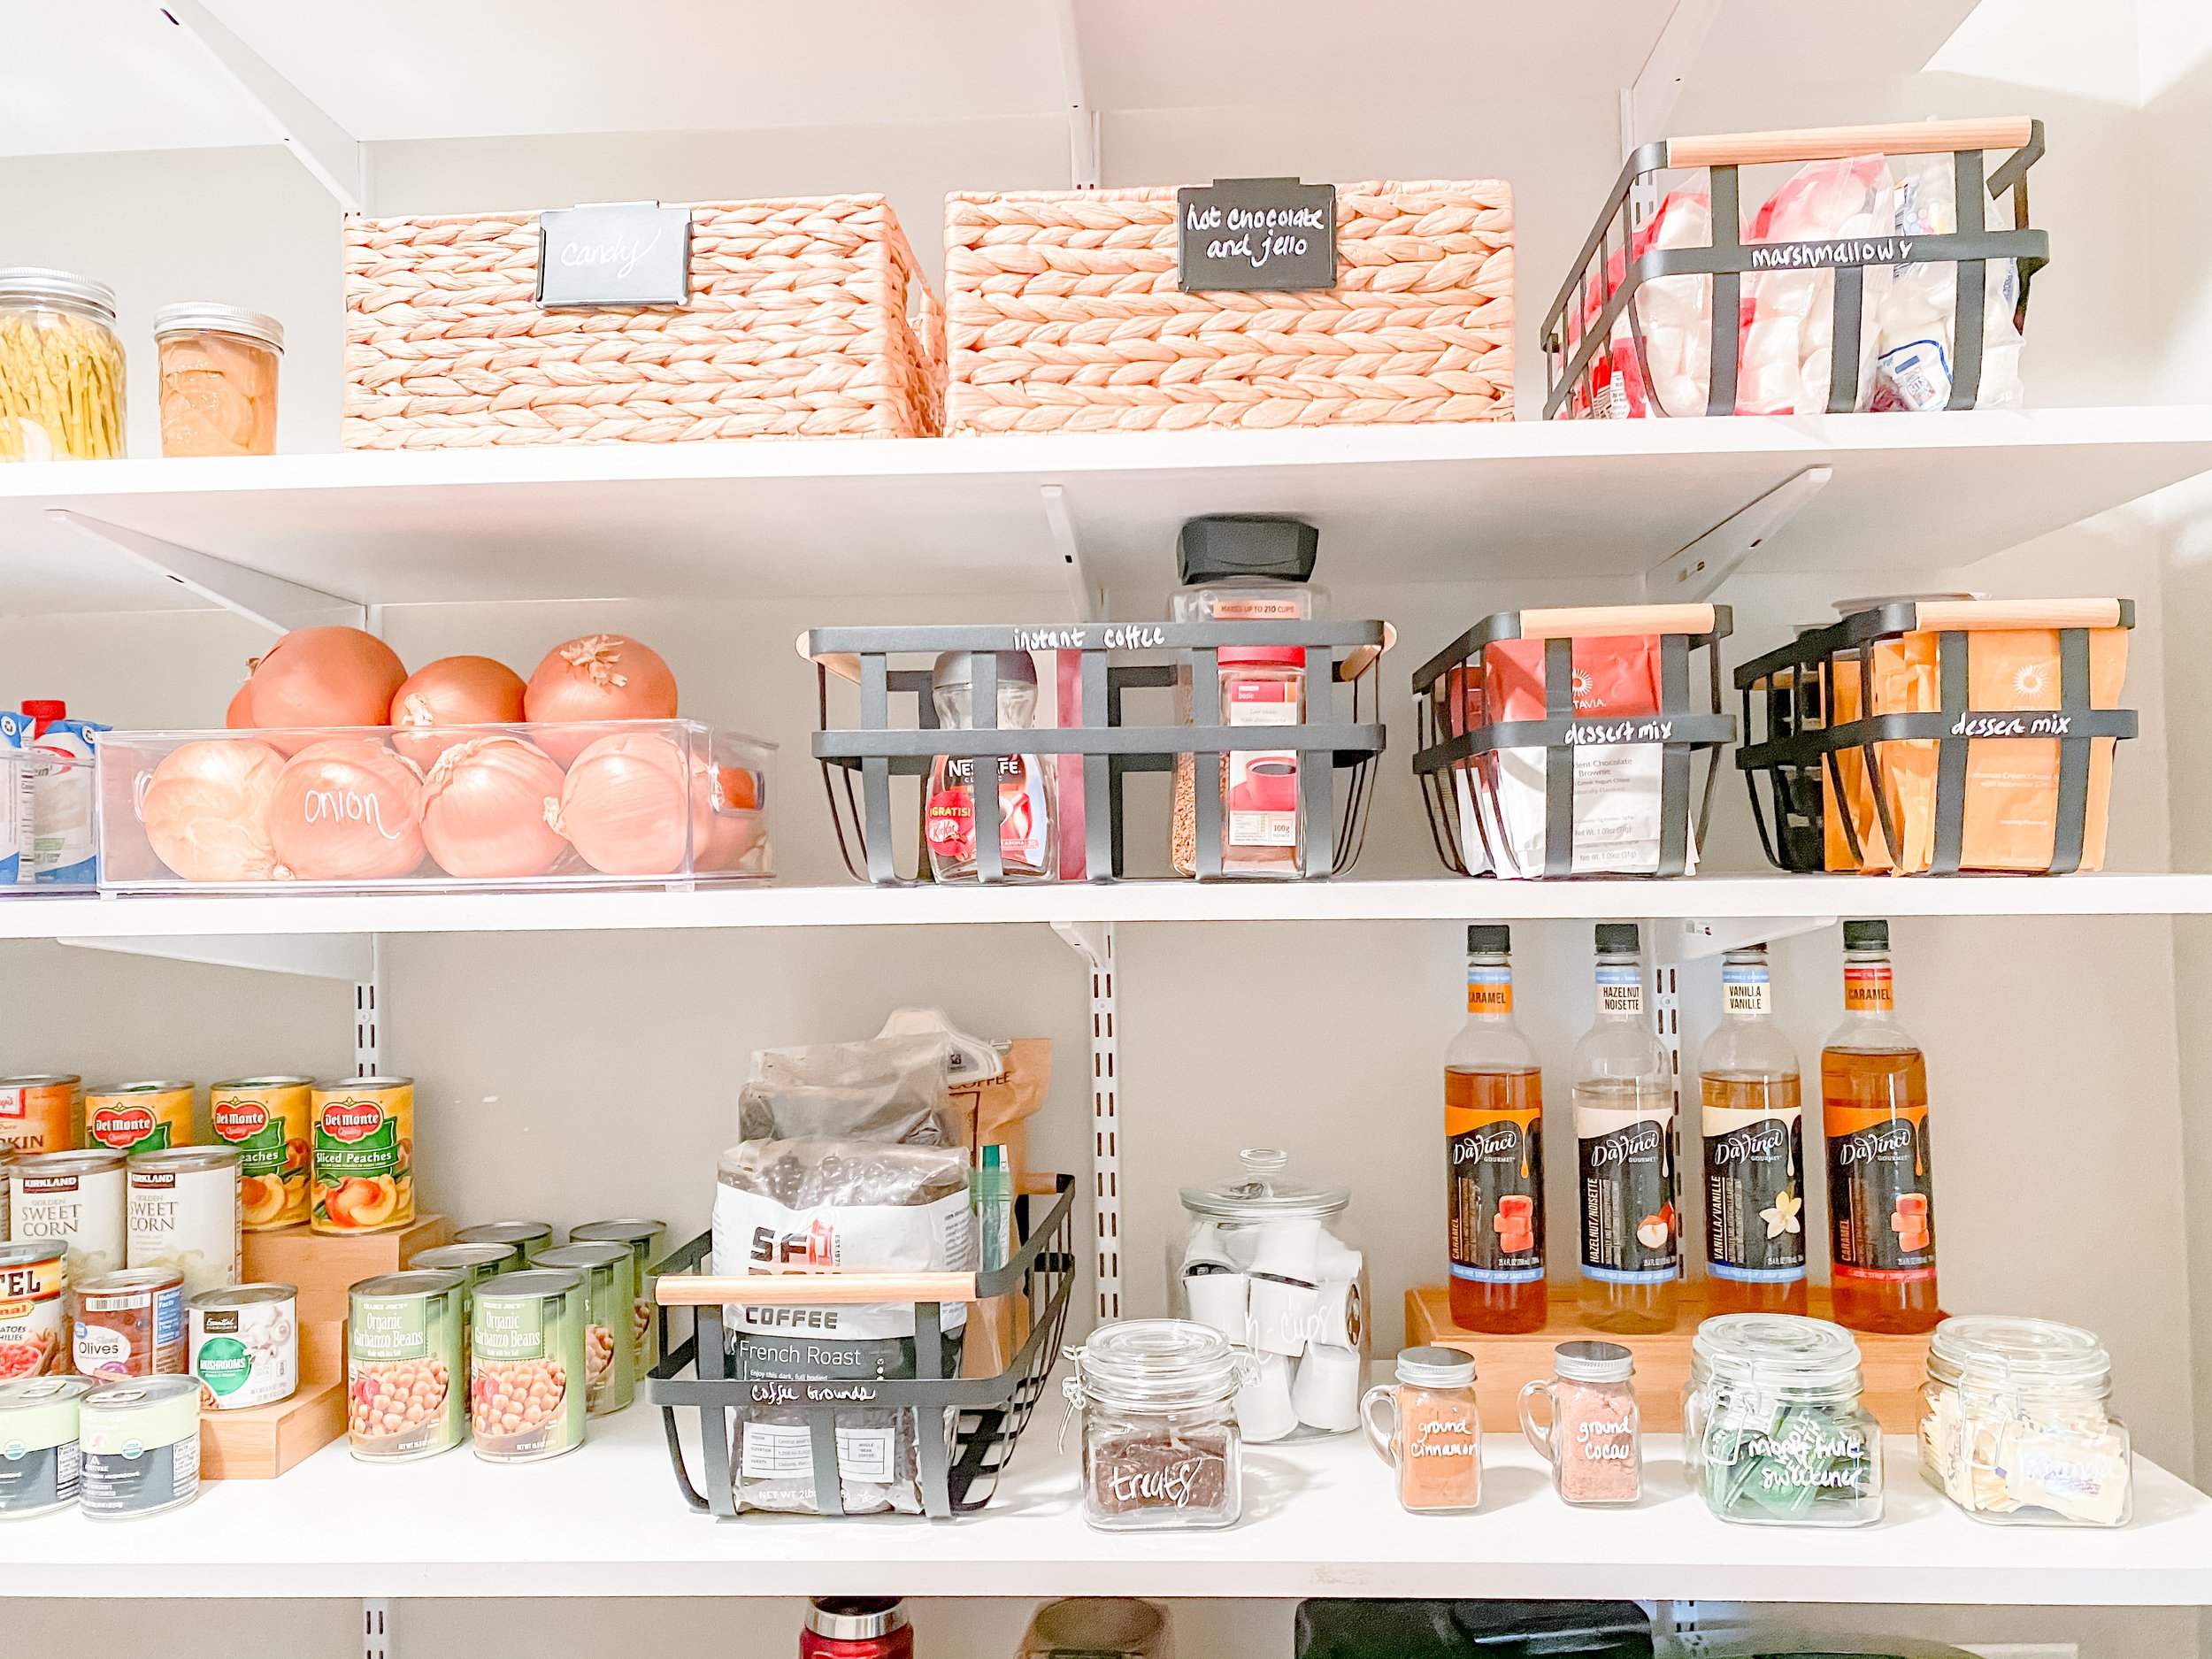
Generally speaking, you want to use the very top and very bottom areas for bulk items (backstock) and things used infrequently. Healthy, ready-to-eat snacks should be at kid height. The other areas will get filled in based on how and how often you use each item.


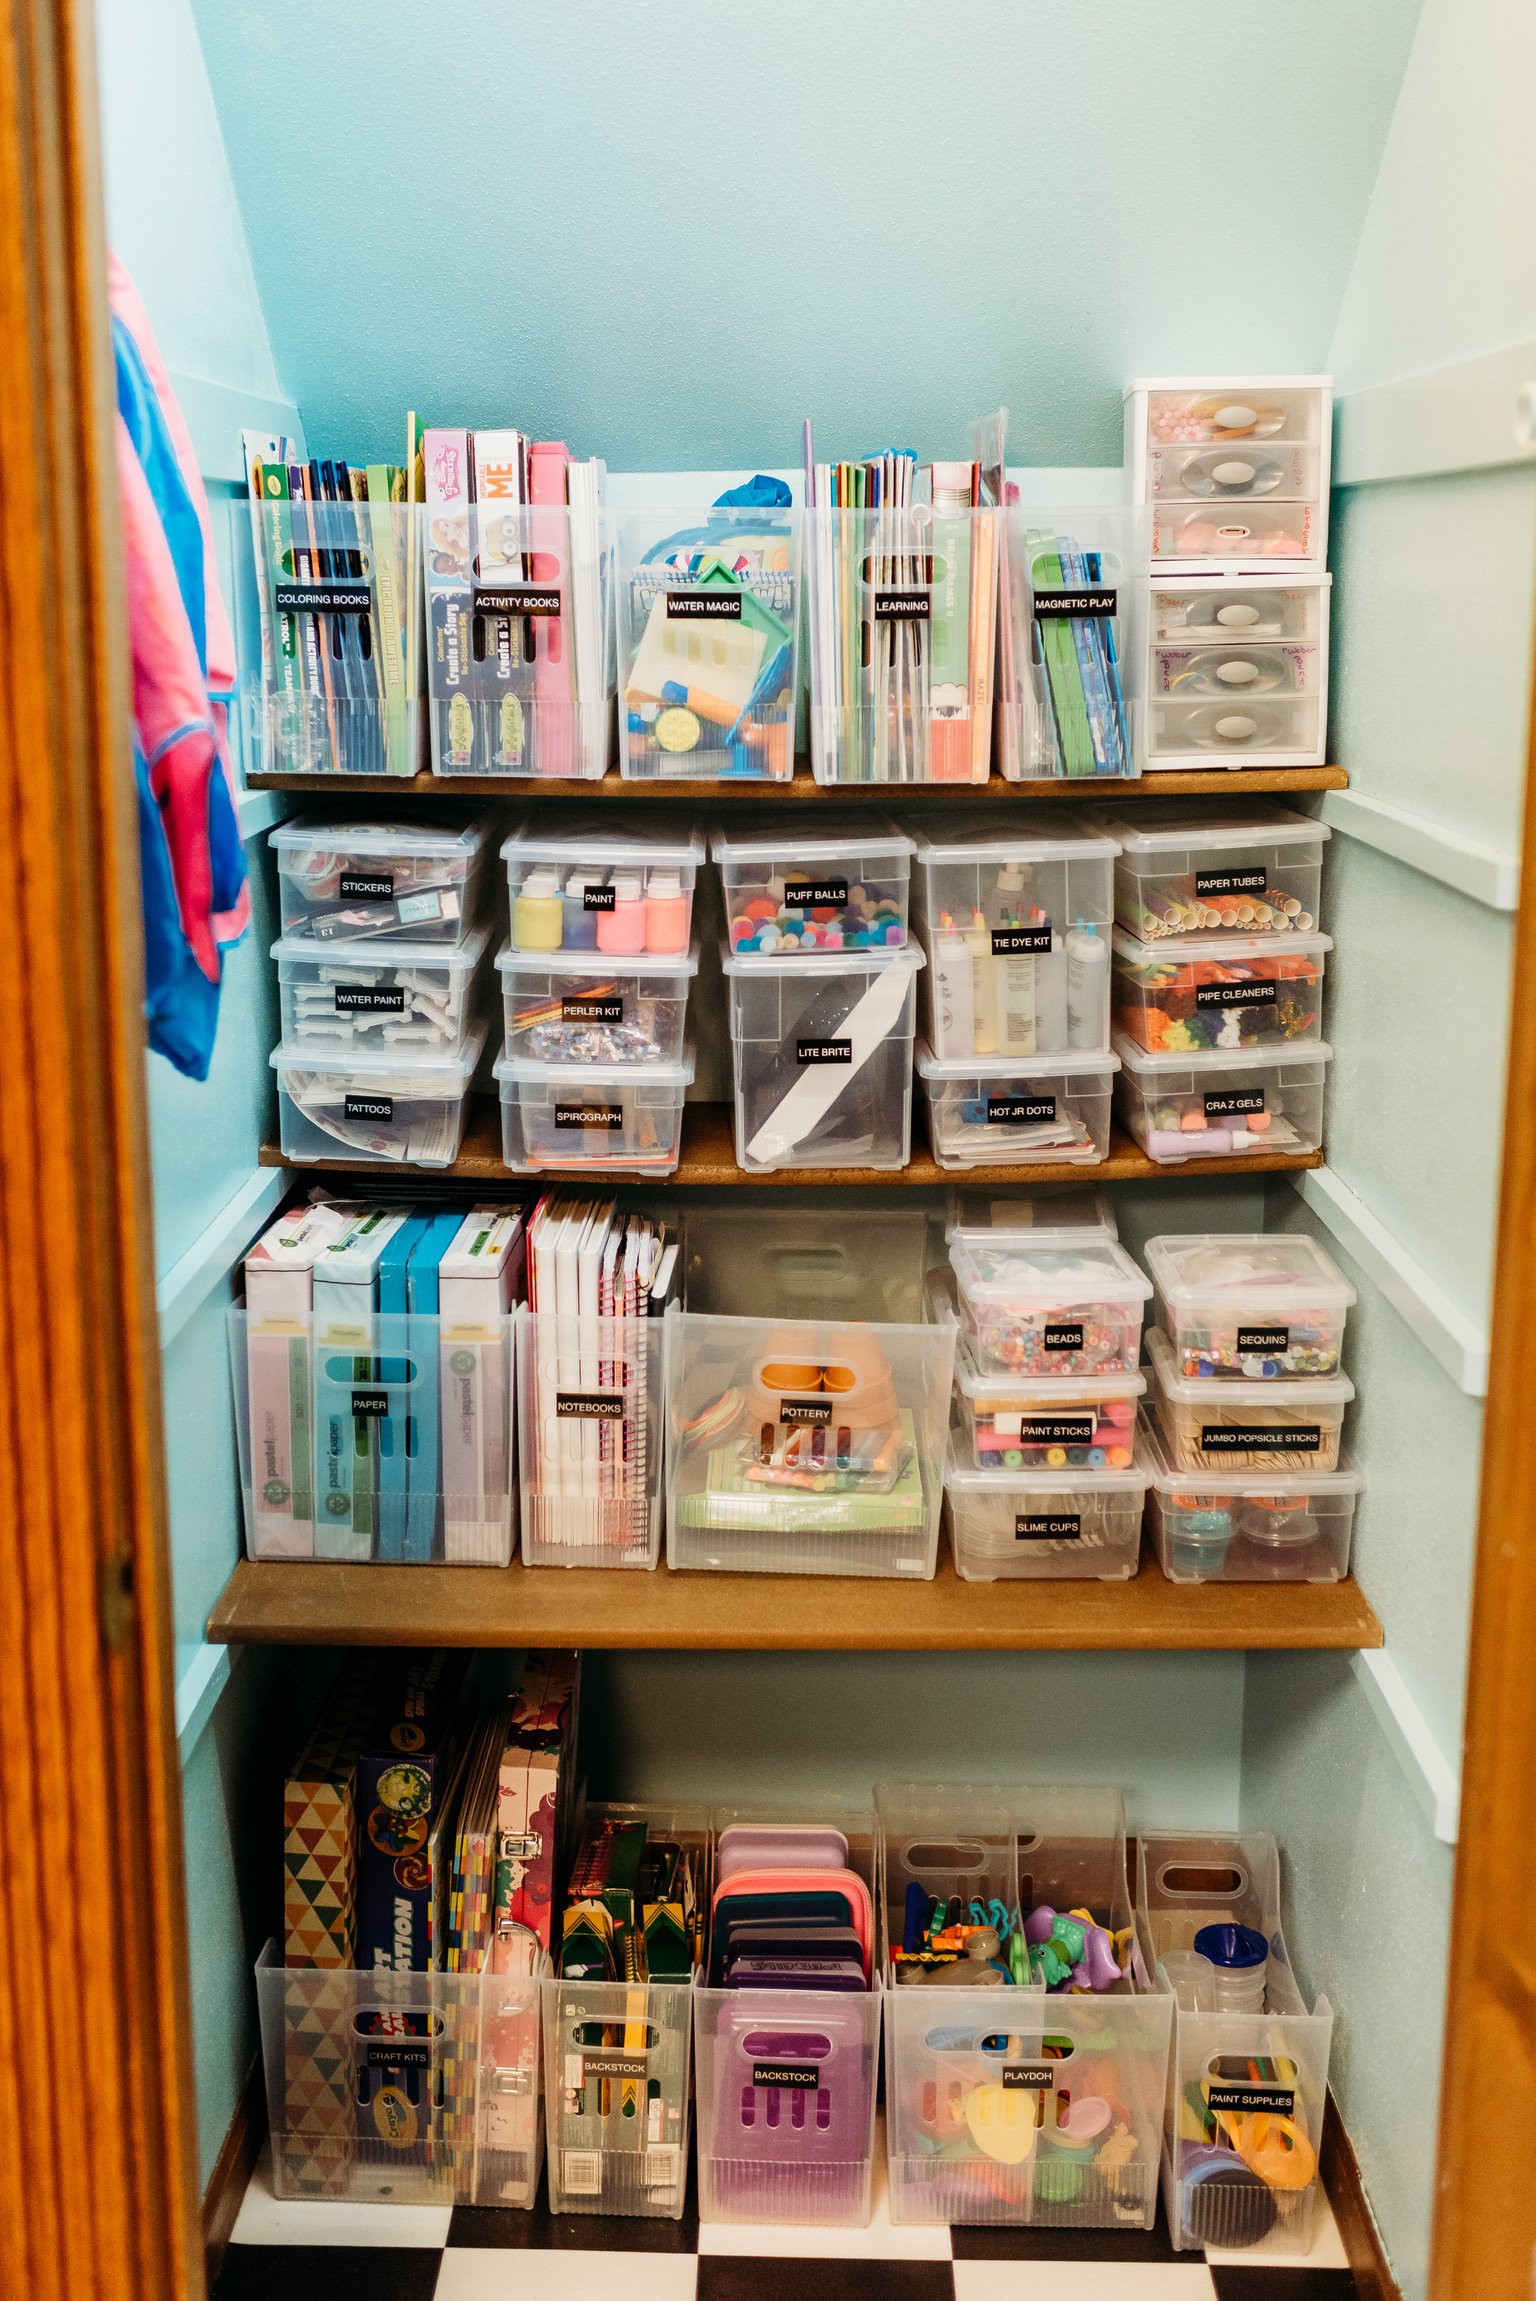
10. Label It
Once you have everything in the place where it will now live, it’s time to label! Labelling is an optional final step but it makes for a great final product. In some spaces it makes sense to label, in others it may not. From experience, I can tell you that if you have children, labeling exponentially increases the likelihood that they will return items to where they belong!
If you do choose to label, some links to our favorite label makers are below.


Shop everything you need to organize your space!


DISCLOSURE: This post may contain affiliate links meaning I may make a commission if you decide to purchase, at no additional cost to you.


more from the o&p blog.


Elevate your shelf-styling game to bring your space to the next level of WOW! Check out some of the foundational pieces you’ll need to get started.